



Micro FUE hair transplant in Turkey
An FUE method in which hair follicles are taken one by one with micro punches of a suitable size and transplanted to the recipient area.

What is Micro FUE?

Micro FUE (Follicular Unit Extraction) is a hair transplant method based on removing hair follicles one by one from the donor area with microsurgical instruments and micro punches of a suitable diameter, and transplanting them to the area that needs them.
One of the key features of the technique is the micro-diameter punches used to extract the grafts. The diameter and technical features of the punches are determined by the anatomical structure of the hair follicles, the thickness of the hair shafts and the characteristics of the follicular units.
How is the punch diameter chosen?
Publications report that the punches used on the scalp are usually between 0.7 and 1.2 mm in diameter. According to expert opinion, a larger punch takes more tissue and may leave a more visible mark, while a smaller punch can increase the risk of transecting the graft. That is why the diameter is not chosen simply to be "as small as possible", but according to the thickness of your hair, the angle at which it exits the skin and the structure of the follicular unit.
Why does the punch tip matter?
A small comparison of punches of the same diameter reported that the design of the tip (sharp, serrated or blunt) changed the graft transection rate. How closely the punch follows the angle at which the hair exits the skin also affects the size of the wound it makes.
Who is it for?

May be suitable
- People whose donor area (back and sides of the head) has enough density
- People who prefer scattered, dot-like marks at the back of the head to a linear scar
- People whose hair loss has stabilised or whose cause has been identified
- People who accept having the hair in the donor area cut short

May not be suitable
- People with an insufficient donor area
- People whose hair loss is active and whose cause is not yet known
- People with a chronic condition that is not under control (a doctor's approval is needed)
- People who do not want any shaving at all (DHI is considered)
Representative images
Your doctor decides whether it suits you after an examination.
Compared with other techniques
- Shaving
- Shaven, unshaven and partially shaven
- Recovery
- Scabs are washed off around day 10
- Number of grafts
- Based on your needs and plan
Channel opening
- Sapphire FUESapphire blade
- DHIImplanter pen, in one step
- Classic FUEMedical steel blade
- Micro FUEThis pageSapphire blade; grafts taken with a micro punch
- Manual FUEMedical blade; grafts taken with a hand-controlled punch
- Diamond FUEMedical diamond blade
- FUTGrafts from a strip of skin; channels with a medical blade
- HED HybridSapphire and DHI technique
These figures are general information; your doctor confirms them. Your doctor decides how many grafts suit you.
Surgery day
One day in eight steps. Grafts are taken one by one with a micro punch, and the channels are opened with sapphire blades.
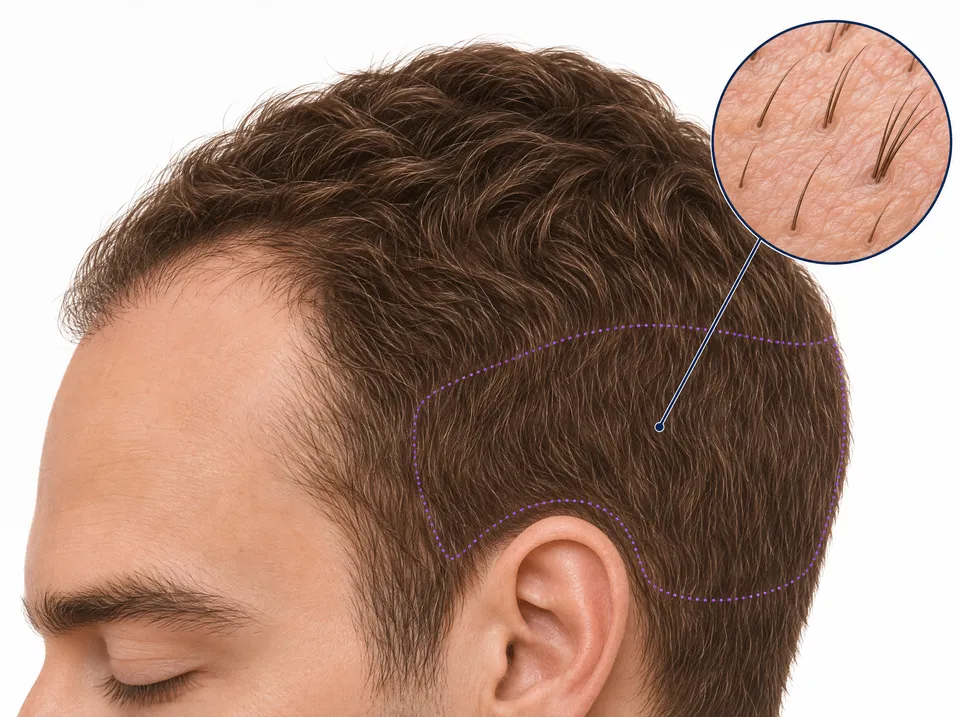 Step 1
Personalised anatomical planning
The needs of the recipient area and the capacity of the donor area are assessed. A surgery plan tailored to you is prepared, taking into account the hair density in the donor area, the diameter of the hair shafts (their thickness in microns), and the structure and distribution of the hair follicles.
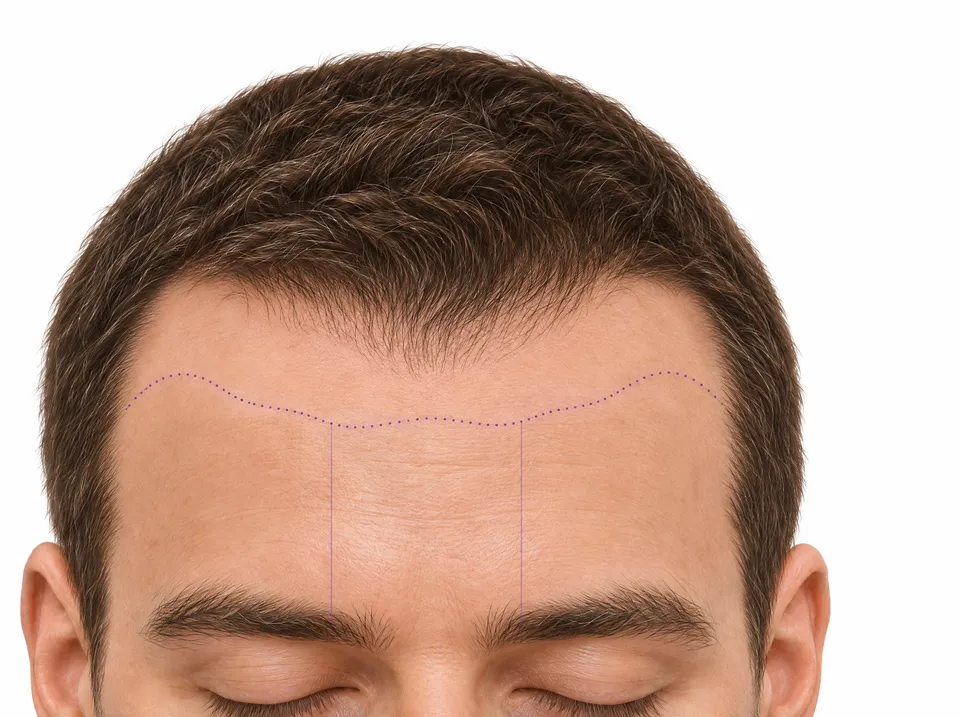 Step 2
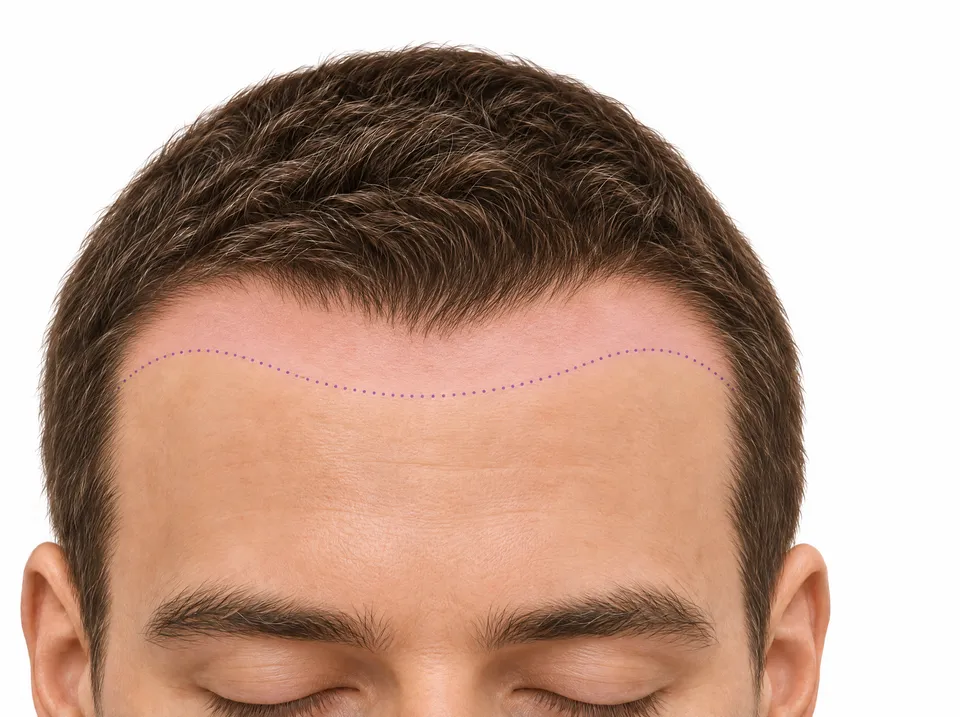
Hairline design
A hairline tailored to you and in keeping with a natural look is designed after assessing your facial anatomy, the shape of your forehead, your facial contours, your age and your existing hair. The design is based on facial proportions and anatomical measurements.
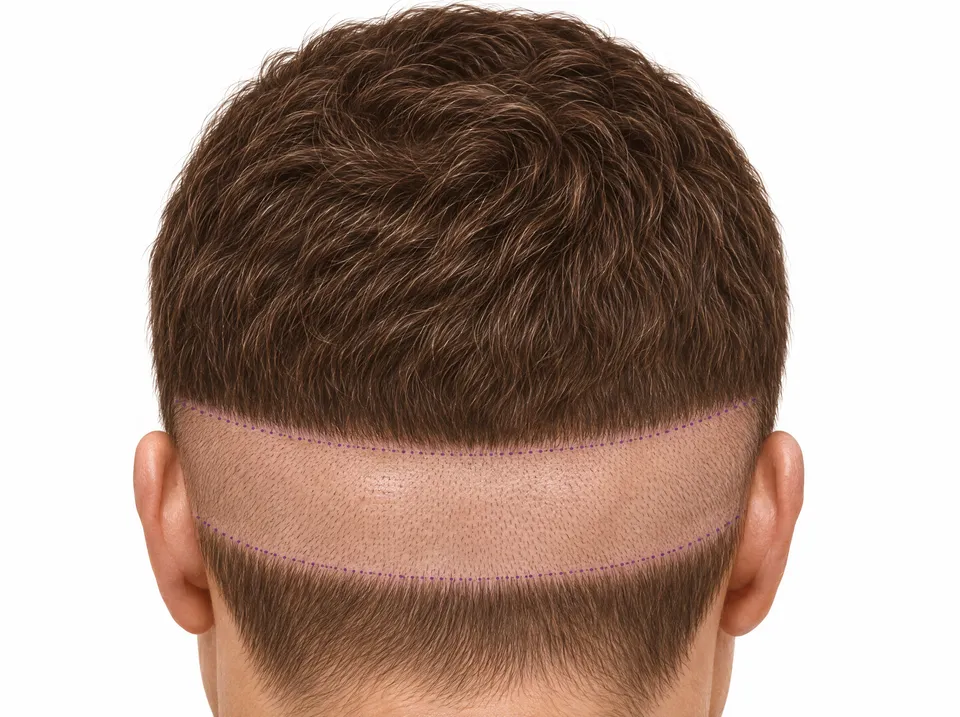 Step 3
Local anaesthesia in the donor area
Local anaesthetic agents are applied to the donor area from which the grafts will be taken. They temporarily block sensory nerve signals in that area, so the surgical site is numbed.
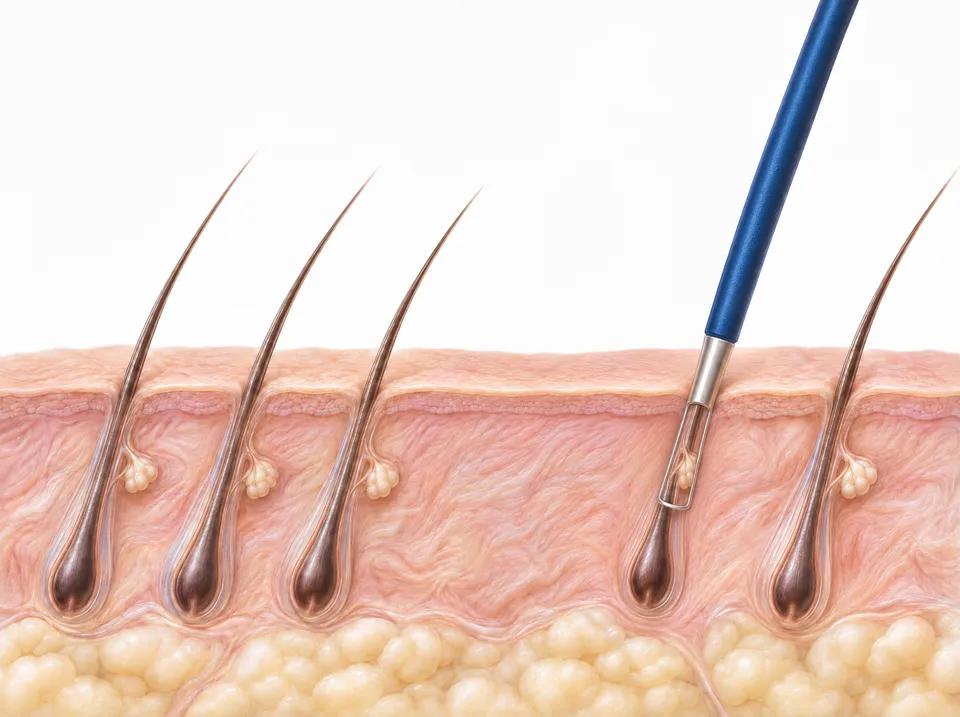 Step 4
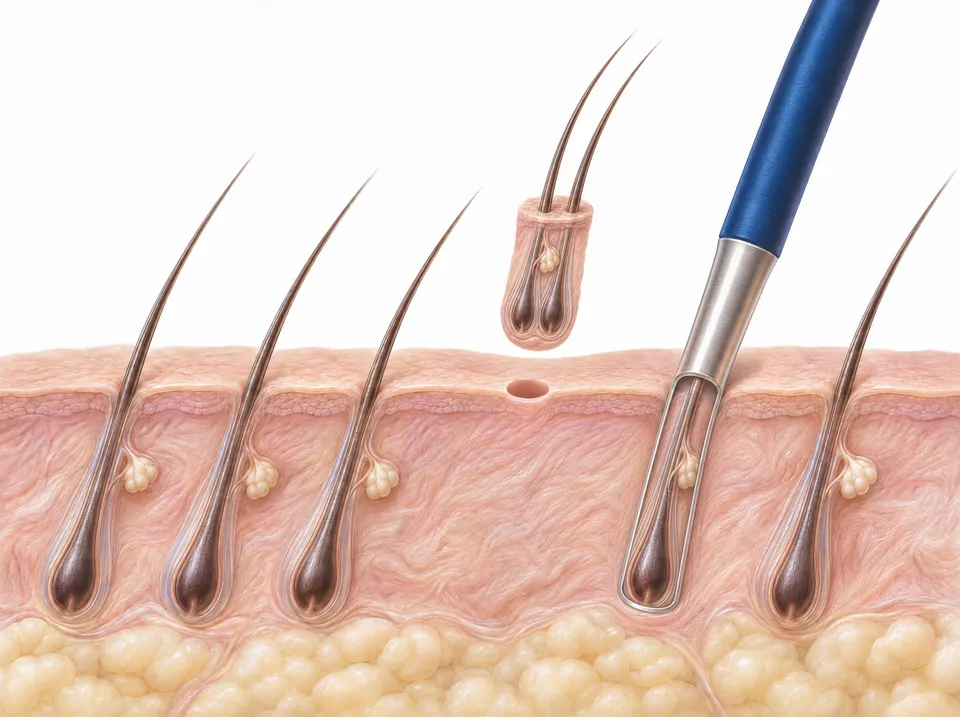
Extracting the micro grafts
The follicular units in the donor area are assessed for hair diameter, length, exit angle and anatomical structure, then removed one by one and collected with micro punches of a suitable diameter. The punch diameter is set according to the structural features of the grafts and the plan for protecting the surrounding tissue.
 Step 5
Sorting and arranging the grafts
The grafts collected are sorted by the number of hairs in each follicular unit and by their structural features. They are classified according to the surgery plan and kept in suitable storage conditions.
 Step 6
Local anaesthesia in the recipient area
Local anaesthetic agents are applied to the area where the hair will be transplanted. They temporarily block sensory nerve signals in that area, so the recipient area is numbed.
 Step 7
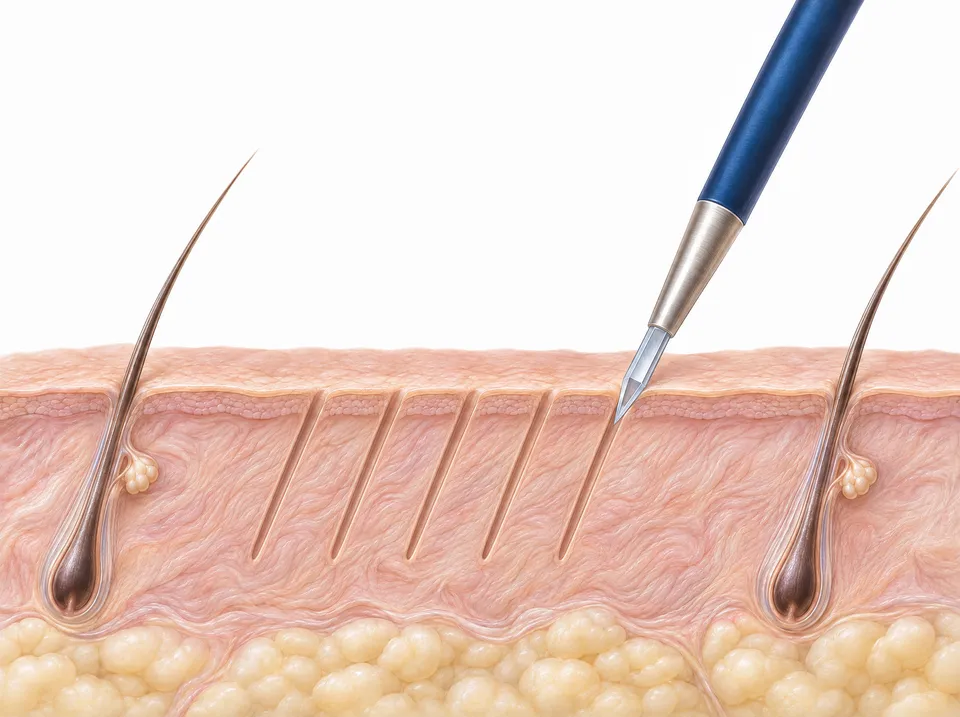
Opening channels with sapphire blades
Channels are created in the recipient area with special medical blades made from sapphire crystal. The geometry of the sapphire blades allows the size and placement angle of the channels to be set precisely. The direction, angle, depth and distribution of the channels are planned according to the natural growth direction of your existing hair, the anatomical features of the grafts and the planned density.
 Step 8
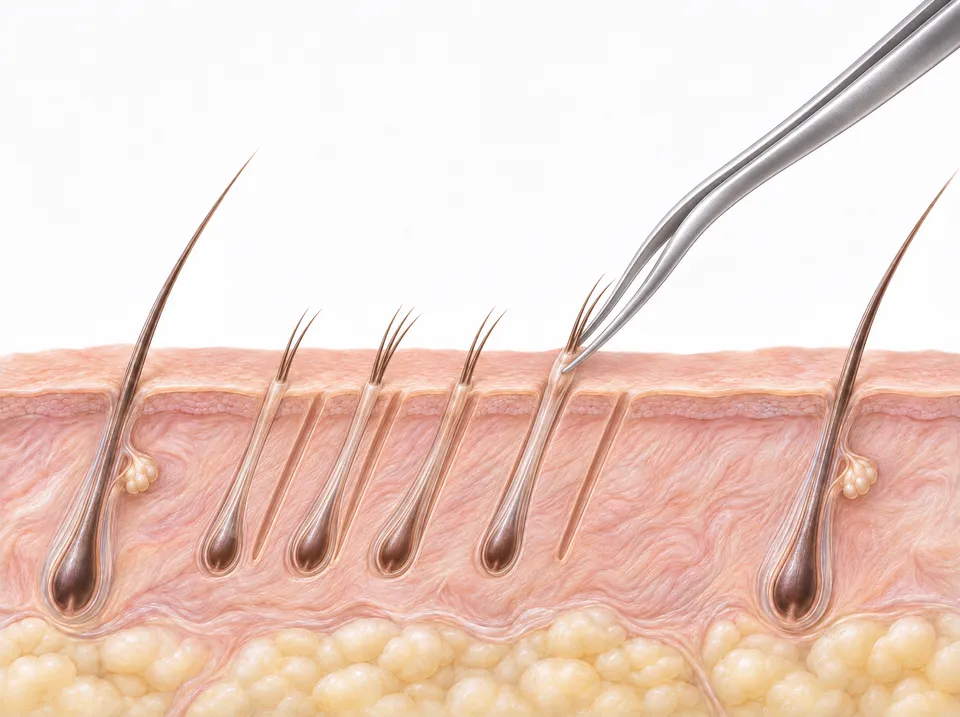
Placing the grafts (implantation)
The prepared grafts are placed one by one into the channels with suitable implanter pens or implantation forceps. During placement, the aim is for the direction, angle and distribution of the grafts to match the anatomical plan.


The images are illustrations; no surgery photos are used.
Recovery timeline
The first two weeks
- Day 1
Surgery
The procedure is carried out according to the surgery plan prepared for you.
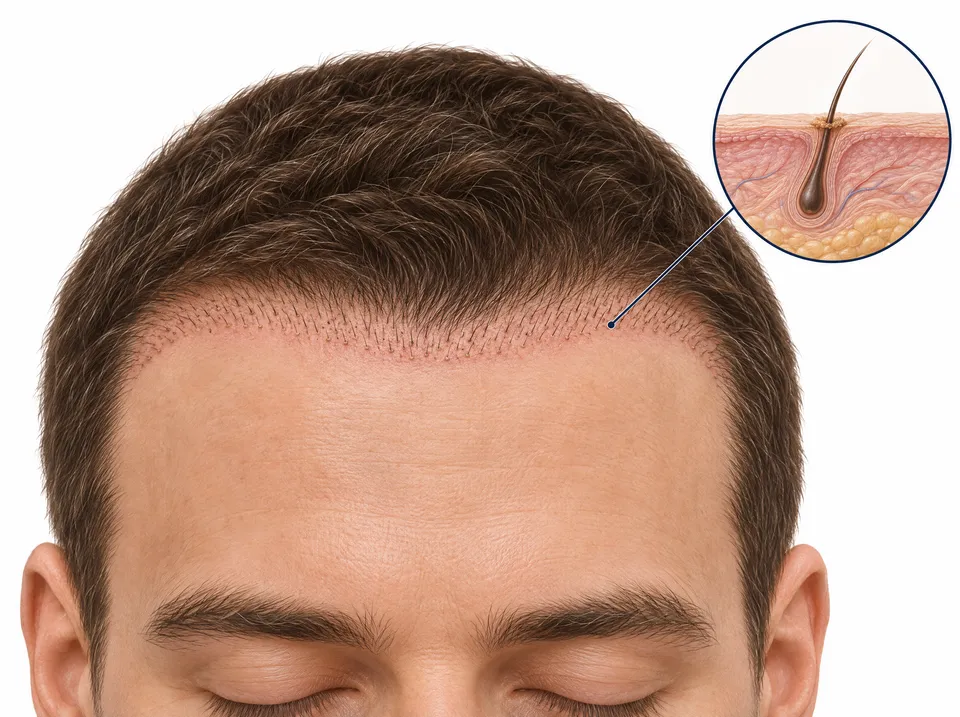
- Day 2
First check-up and dressing
The treated area is checked. The necessary medical assessment and dressing are carried out.
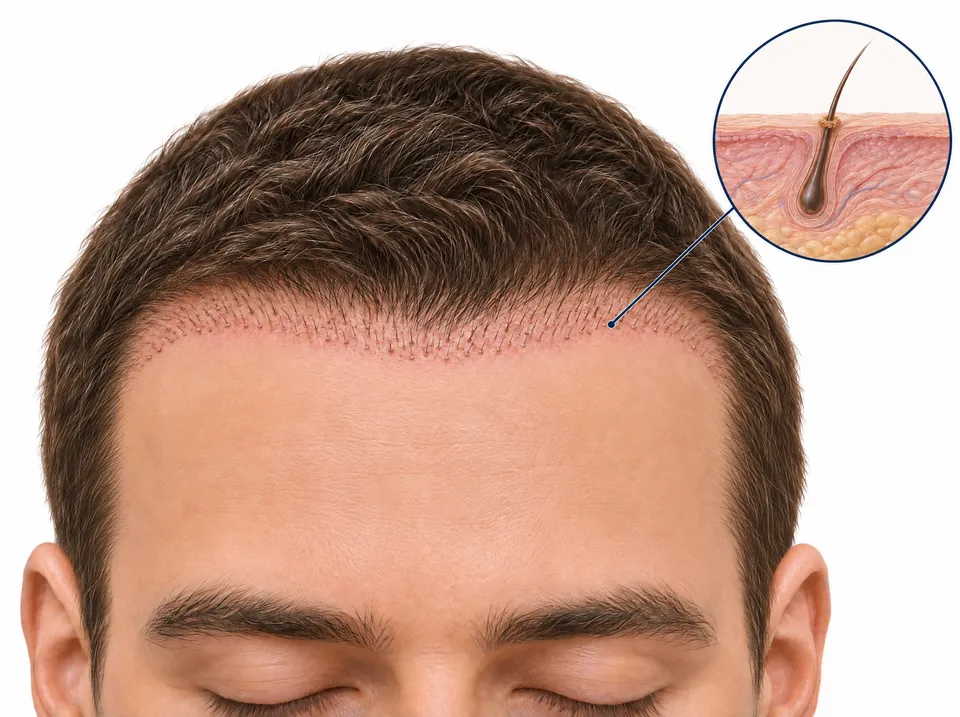
- Day 3
Initial care and check-up
The necessary initial care, check-up and follow-up are carried out, and your first wash takes place at this stage. What you need to watch out for after surgery is explained to you in detail.
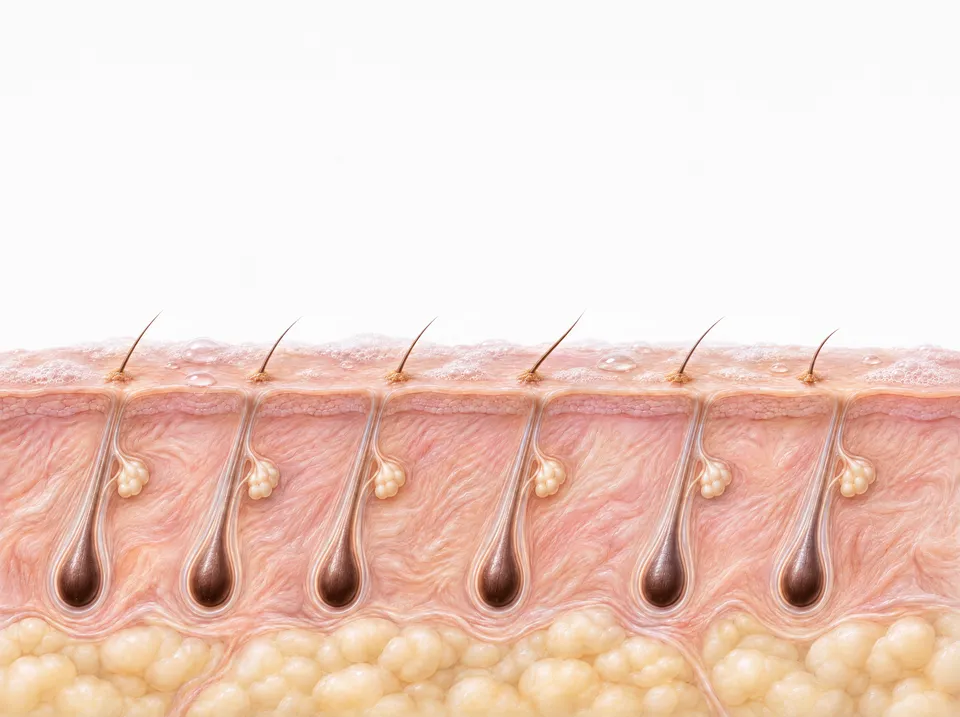
- Day 10
Scab wash
A wash is done to remove the scabs that have formed in the treated area in a controlled way. How the scabs are clearing is assessed according to how you are healing.
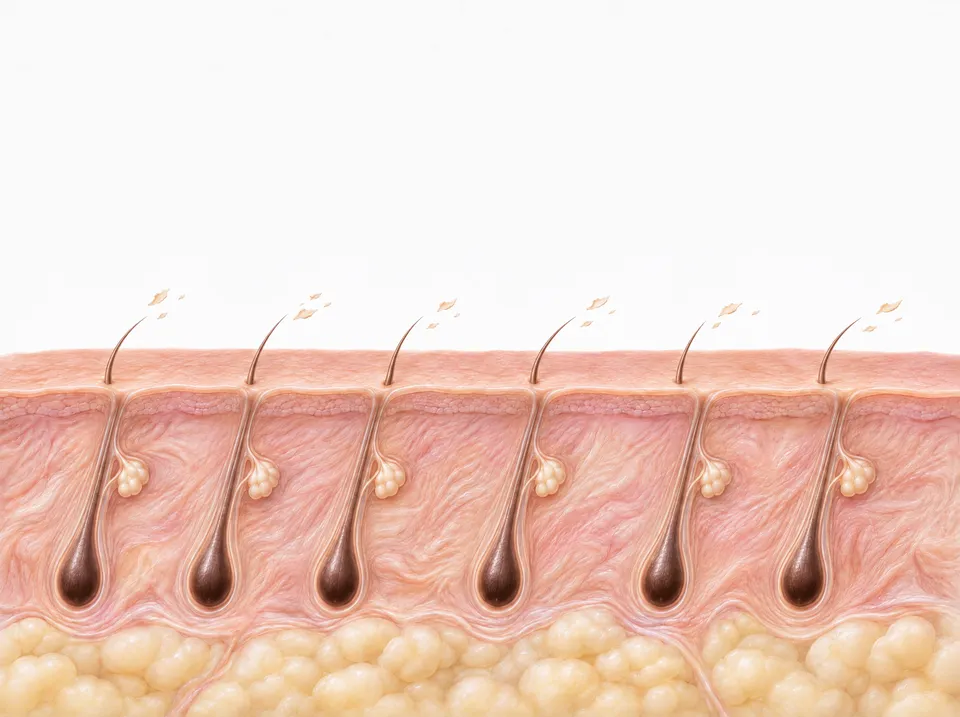
- Day 15 onwards
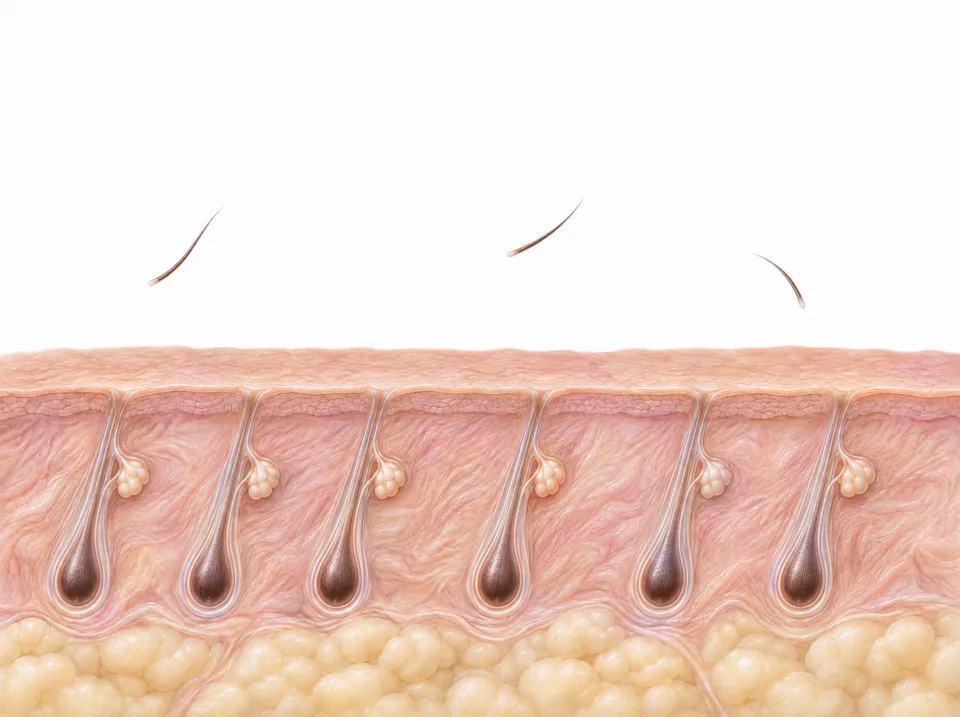
Shock loss begins
The transplanted hairs may start to shed temporarily. This does not mean the hair follicles have been lost.


Over the months
- Day 15 – month 3
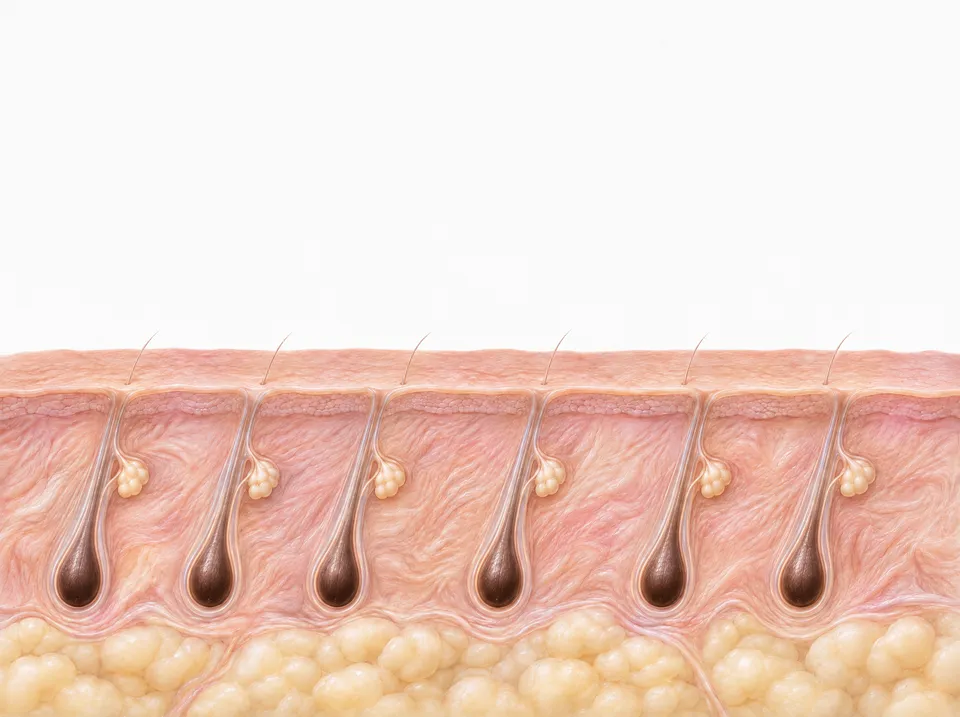
Shock loss phase
Some of the transplanted hairs may shed during this period. The hair follicles, meanwhile, keep developing under the skin to produce new hair.
- Month 3
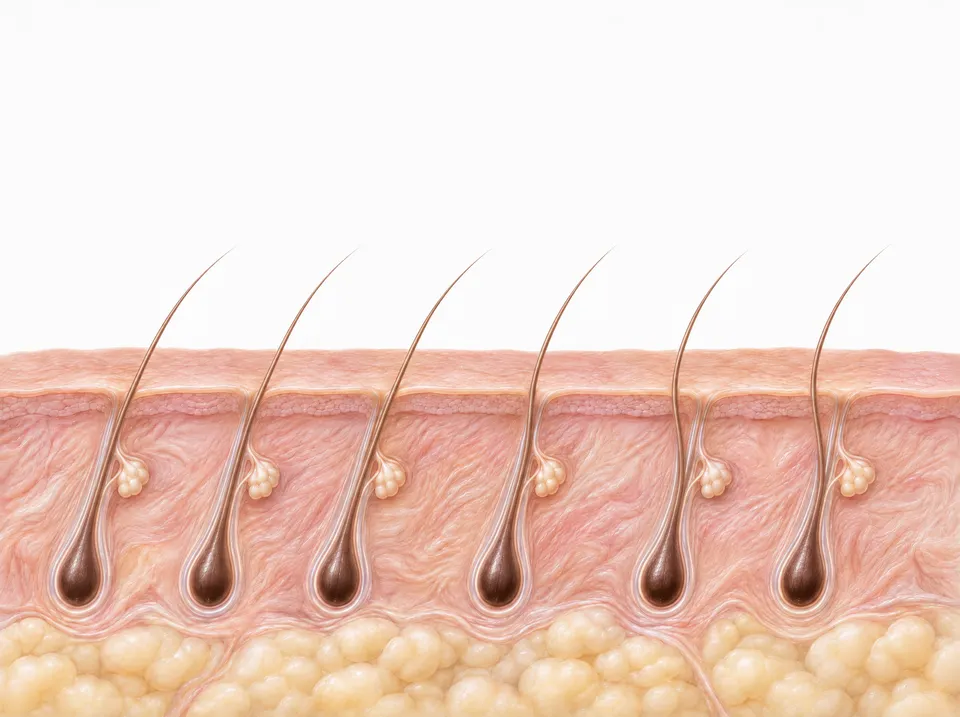
New hair comes through
New hairs may start to become visible. The first hairs may be fine and grow in different directions.
- Months 4–6
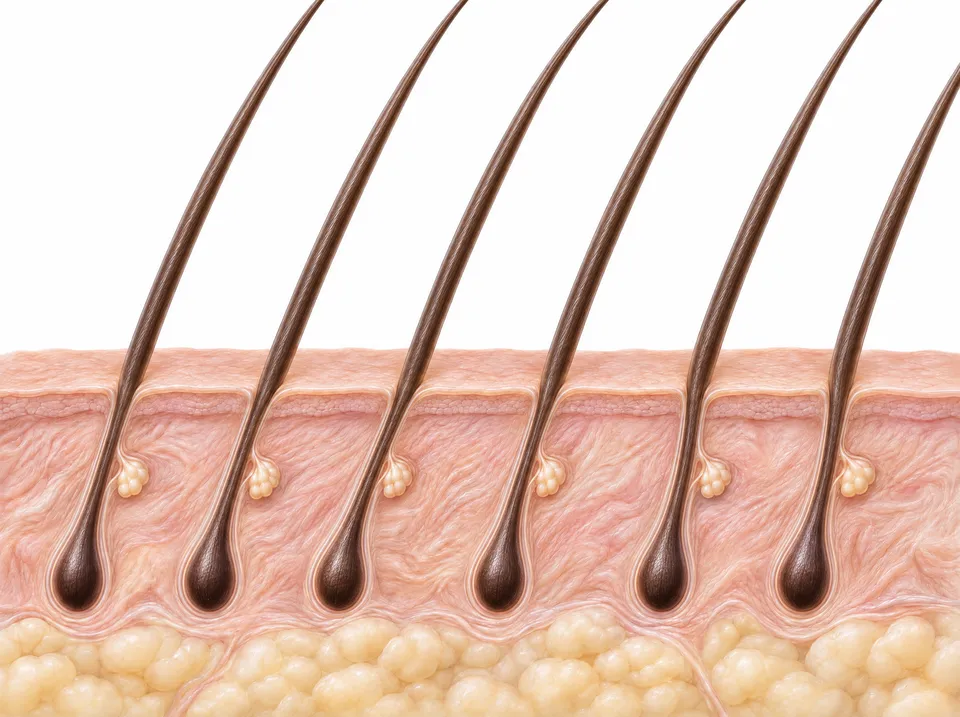
Hair growth and density
New hairs keep coming through, growing longer and thickening. A gradual increase in density may be seen.
- Months 8–12
Results become clearer
Hair growth and density continue to build, and the results become more noticeable during this period. The final assessment is made according to your hair growth and clinical condition.
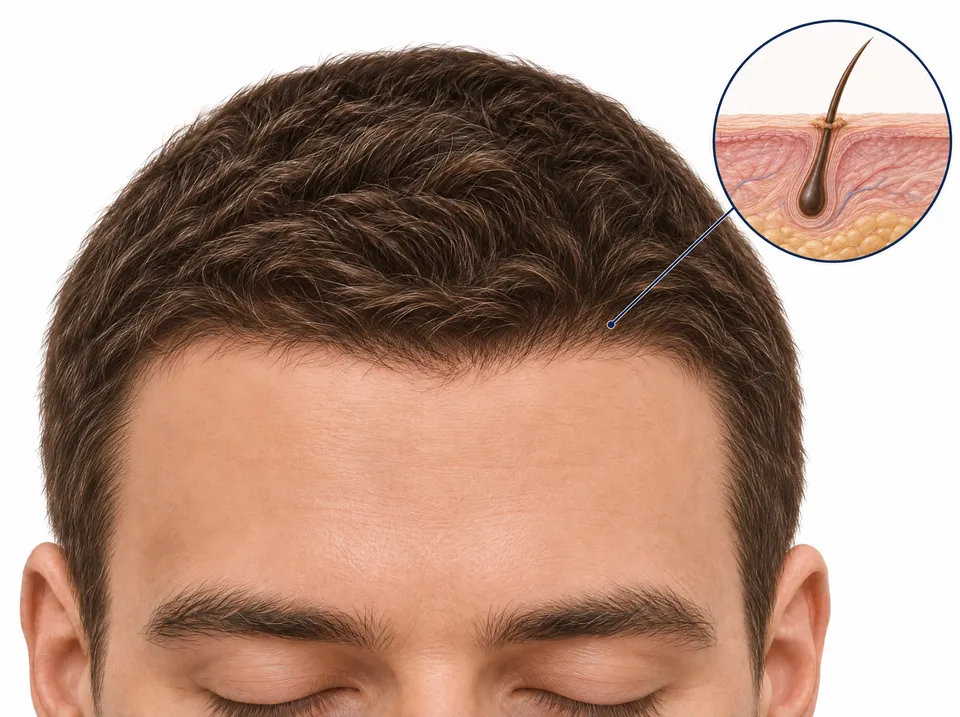


Representative images
Timings are averages and vary from person to person. The drawings are schematic sections of the scalp.
Risks and side effects
Every procedure carries risks. Most are temporary; your doctor goes through each one with you before surgery.
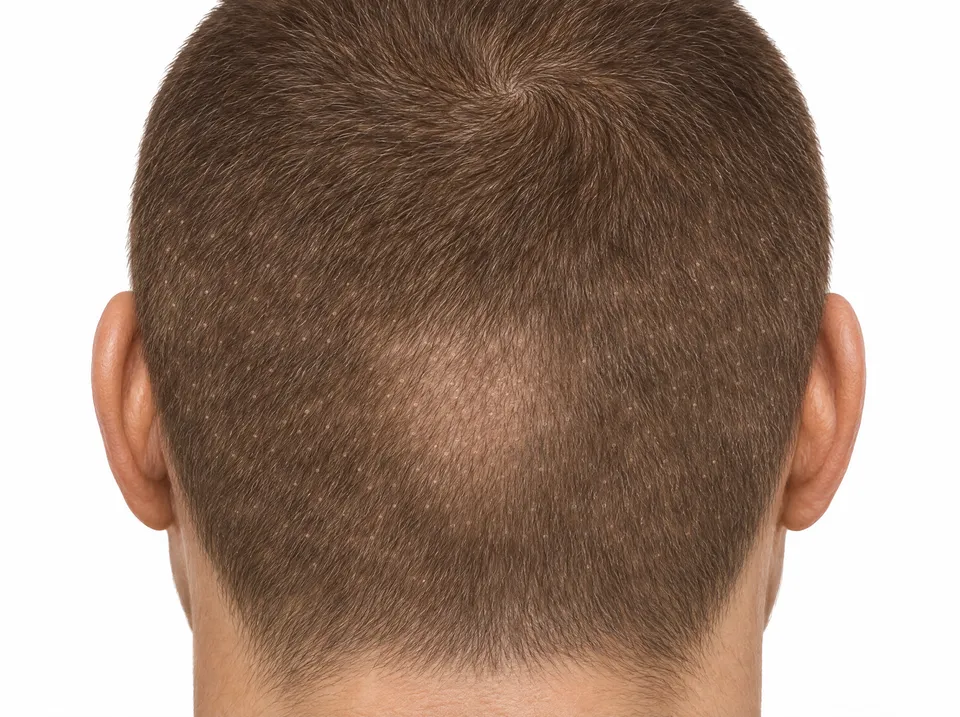
Dot-like marks and thinning in the donor area
Each punch leaves a small, dot-like mark where the graft was taken. Once the hair grows, these marks are usually not visible; with a very short cut they may be noticeable. If too many grafts are taken from the same area, the back of the head can look thin; that is why the number of grafts to be taken is planned according to donor capacity.
Graft transection
While cutting around the follicle, the punch can also cut through the follicle itself, and a transected graft may be less likely to take. This risk depends on the punch diameter, the design of its tip and the angle at which the hair exits the skin, which is why the punch is chosen to suit your hair structure.
Swelling
Around the forehead and eyes; it usually settles on its own within 5–7 days. If it gets bad enough to close your eyes, message us.
Scabbing and itching
Normal around the grafts in the first 10 days. If the scabs are still thick and stuck after day 14, message us.
Shock loss
The transplanted hairs and your own hair nearby may shed temporarily after day 15; the roots stay under the skin and the hair starts to grow back around month 3.
Numbness and folliculitis
In most cases, reduced sensation fades within weeks; small bumps may appear as new hairs come through. If redness spreads or there is discharge, message us.
Infection
Rare, usually in the first 1–4 weeks. If you have a fever, increasing redness or discharge, message us without delay.

Frequently asked questions
What is the difference between Micro FUE and Sapphire FUE?
In both, grafts are taken one by one with a punch and the channels are opened with a sapphire blade. The name Micro FUE puts the emphasis on the micro punches, chosen to suit your hair structure, that are used to take the grafts. The literature does not define them as two separate techniques; your doctor decides which method suits you after an examination.
Is a smaller punch always better?
No. A smaller punch takes less tissue but can increase the risk of transecting the graft; a larger punch can reduce this risk but takes more tissue. The diameter is chosen according to the thickness of your hair and the structure of the follicular unit.
Does Micro FUE require shaving?
The hair in the donor area, where the grafts are taken, is usually cut short. How the recipient area will be prepared is discussed during planning.
Who decides which technique suits me?
You have a face-to-face or online consultation (video call or phone) with our specialist doctor and our hair transplant specialists Hüseyin Can Ebil and Hakan Dağdelen. The reasons behind the technique and the plan are explained to you in detail.
How many nights should I stay in Istanbul?
If you are travelling from outside Istanbul, a stay of at least 3 nights is recommended. The check-up, dressing and first wash in the first three days take place during this time; the length of stay may vary depending on the surgery and your needs.
Will I have marks on the back of my head?
Each punch leaves a very small, dot-like mark. Once the hair grows, these marks are usually not visible; with a very short cut they may be noticeable. Every hair transplant method leaves some kind of scar.
Does recovery go the same way for everyone?
No. Because every surgery is planned individually, recovery time, check-up intervals and results can vary from person to person. Follow-up and care recommendations are set according to the specialist doctor's assessment.
When can I go back to work?
In most cases you can return to desk work after 3–5 days. Your doctor advises on the exact timing based on your job.
References
- 1.Garg AK, Garg S. Donor harvesting: follicular unit excision. J Cutan Aesthet Surg. 2018;11(4):195–201.
- 2.Cole JP. An analysis of follicular punches, mechanics, and dynamics in follicular unit extraction. Facial Plast Surg Clin North Am. 2013;21(3):437–447.
- 3.Mohmand MH, Ahmad M. Battle of the punches: comparison of transection rates of different punches during FUE. J Cosmet Dermatol. 2019;18(6):1837–1840.
- 4.Balık O. Determination of scalp vascular topography by laser Doppler flowmetry and comparison of vascular damage by different blades in hair transplantation. J Craniofac Surg. 2023;34(8):e803–e806.
- 5.Romera de Blas C, Vega Díez D, Ricart Vayá JM, Gómez Zubiaur A. Complications in follicular unit excision hair transplantation: current evidence and practical approaches. Front Med (Lausanne). 2026;13:1750989.
- 6.Khatib M, Skorochod R, Wolf Y. Complications following hair transplantation: a systematic literature review and meta-analysis. Aesthetic Plast Surg. 2025;49(23):6393–6405.
Let's review yourhair together.
Tell us about your hair in three short steps, and your hair transplant specialist will get back to you.
- Address
- Ataköy 7-8-9-10. Kısım Mahallesi, Çobançeşme E-5 Yan Yol Caddesi No: 20/1, Ataköy Towers A Blok, 5. Kat, Ofis No: 96, Bakırköy / İstanbul
- Opening hours
- 24/7, every day of the week
- Phone
- +90 (545) 209 55 51